Building a NanoPi Cluster - Part 1
A new Project I recently started is to build a cluster of ARM-based hardware. First of all I searched for some suggestions in the web and spent some thoughts on the Hardware I want to use to build the cluster. Most Articles and How-Tos are based on the Raspberry Pi. Nice, but not what I want, too convenient. ;-)
My choice is the FriendlyArm NanoPi NEO, equipped with a Allwinner H3, Quad-core Cortex-A7 CPU, 512MB DDR3 RAM and a Ethernet-Port. Thats all I need.
The Hardware
Nanopi NEO
As the NanoPi NEO is the SBC of my choise here are the specs:
- CPU: Allwinner H3, Quad-core Cortex-A7 Up to 1.2GHz
- DDR3 RAM: 256MB/512MB
- Connectivity: 10/100M Ethernet
- USB Host: Type-A x 1, 2.54 mm pin x 2
- MicroSD Slot x 1
- MicroUSB: OTG, for power input
- Debug Serial Port: 4Pin, 2.54 mm pitch pin header
- GPIO: 2.54mm pitch 36pin. It includes UART, SPI, I2C, IO etc
- PCB Dimension: 40 x 40 mm
- Power Supply: DC 5V/2A
See NanoPi Neo Wiki for more details.
Other Parts
In addtion to the NanoPi there are some more parts a cluster needs:
- Heatsink: Heatsinks for the Raspberry Pi should fit.
- PowerPort: To power the NanoPis I use a USB-PowerPort with 6 ports and 60W.
- Switch: A 5 Port Switch to connect the NanoPis in an internal Cluster network.
- Cables: Short cables for power and network
- USB-to-Ethernet-Adapter: To connect the cluster to the wide world, the “Master”-NanoPi is eqipped with a second Ethernet-Adapter using the USB-Port.
- Micro-SD card: A 16GB card should be enough for each node.
The Shopping cart
Here is a list of all parts used to build the cluster.
| Quantity | Name |
|---|---|
| 5 | Nanopi NEO 512MB |
| 5 | Heatsink for Nanopi |
| 1 | PowerPort 6 Port, 60W |
| 1 | Network Switch 5 Port |
| 5 | MicroUSB cable 0,3m |
| 5 | Network cable 0,5m |
| 5 | MicroSD card 16GB |
| 1 | Spacer (20 pieces, 30mm, M3) |
| 1 | USB to Ethernet Adapter |
Overall costs: ~220 €
Building the Hardware
Since I dont want to have a nice and fancy enclosure, putting all parts together is pretty easy. Stack all NanoPis with the spacer and bolt them together.
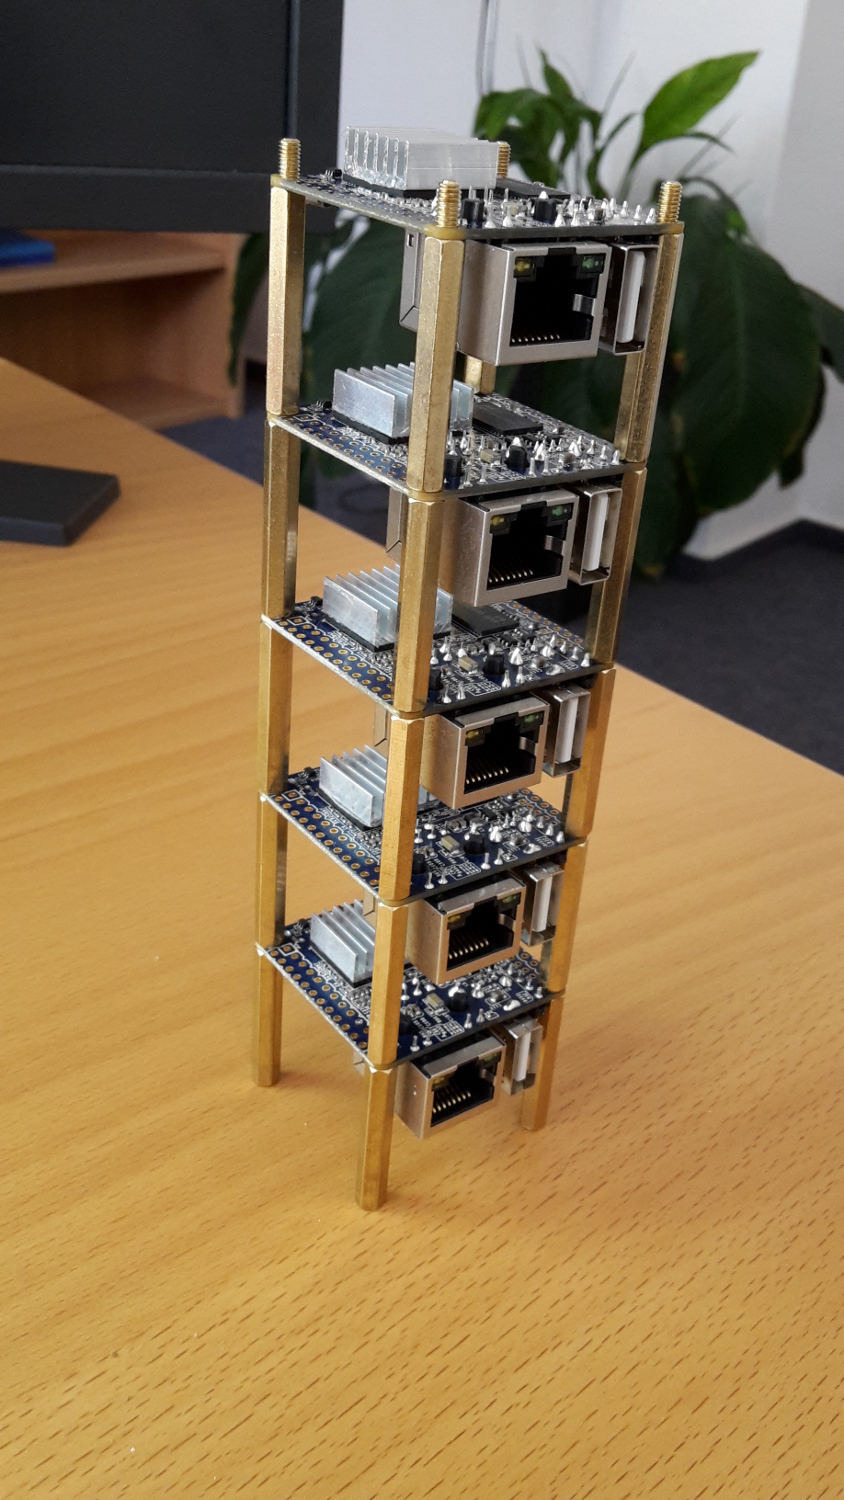 Stack of NanoPis
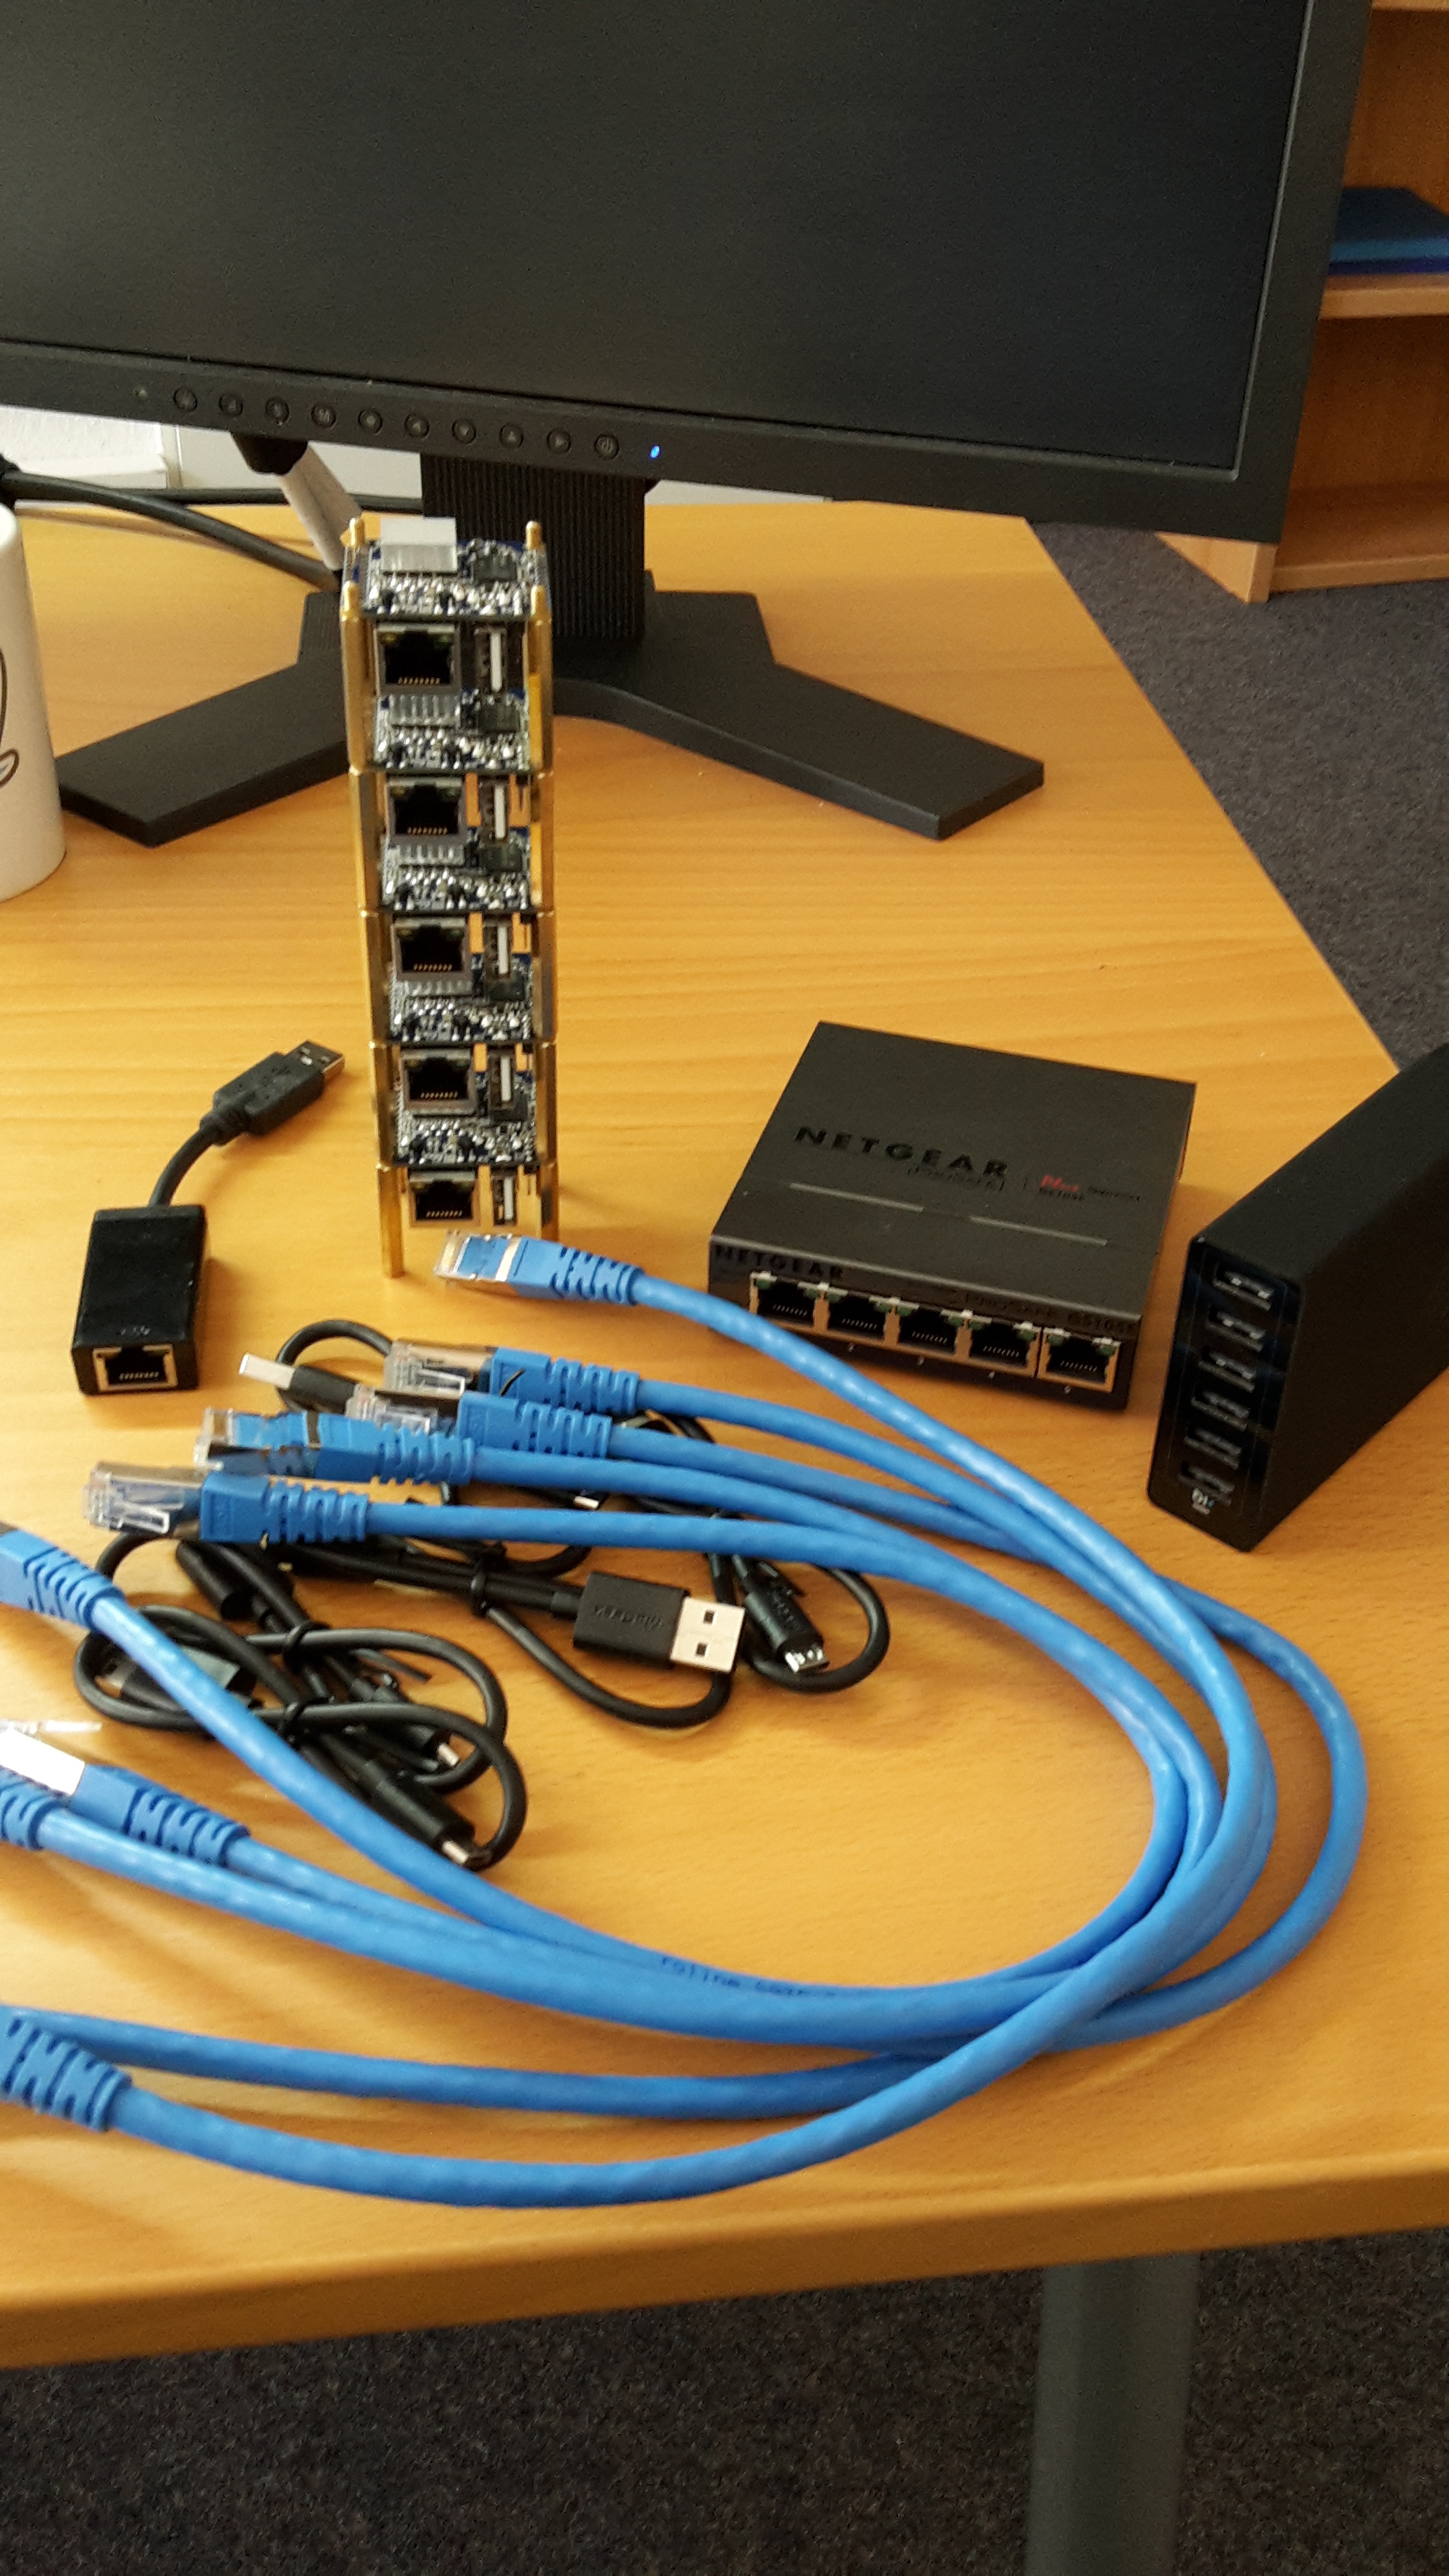 All parts on my desk
Some double sided glue strip, some cable tie and plugging cable into the correct ports and the Hardware is done! Not that nice, fancy enclosed cluster, but a charming, open air nano-datacenter.
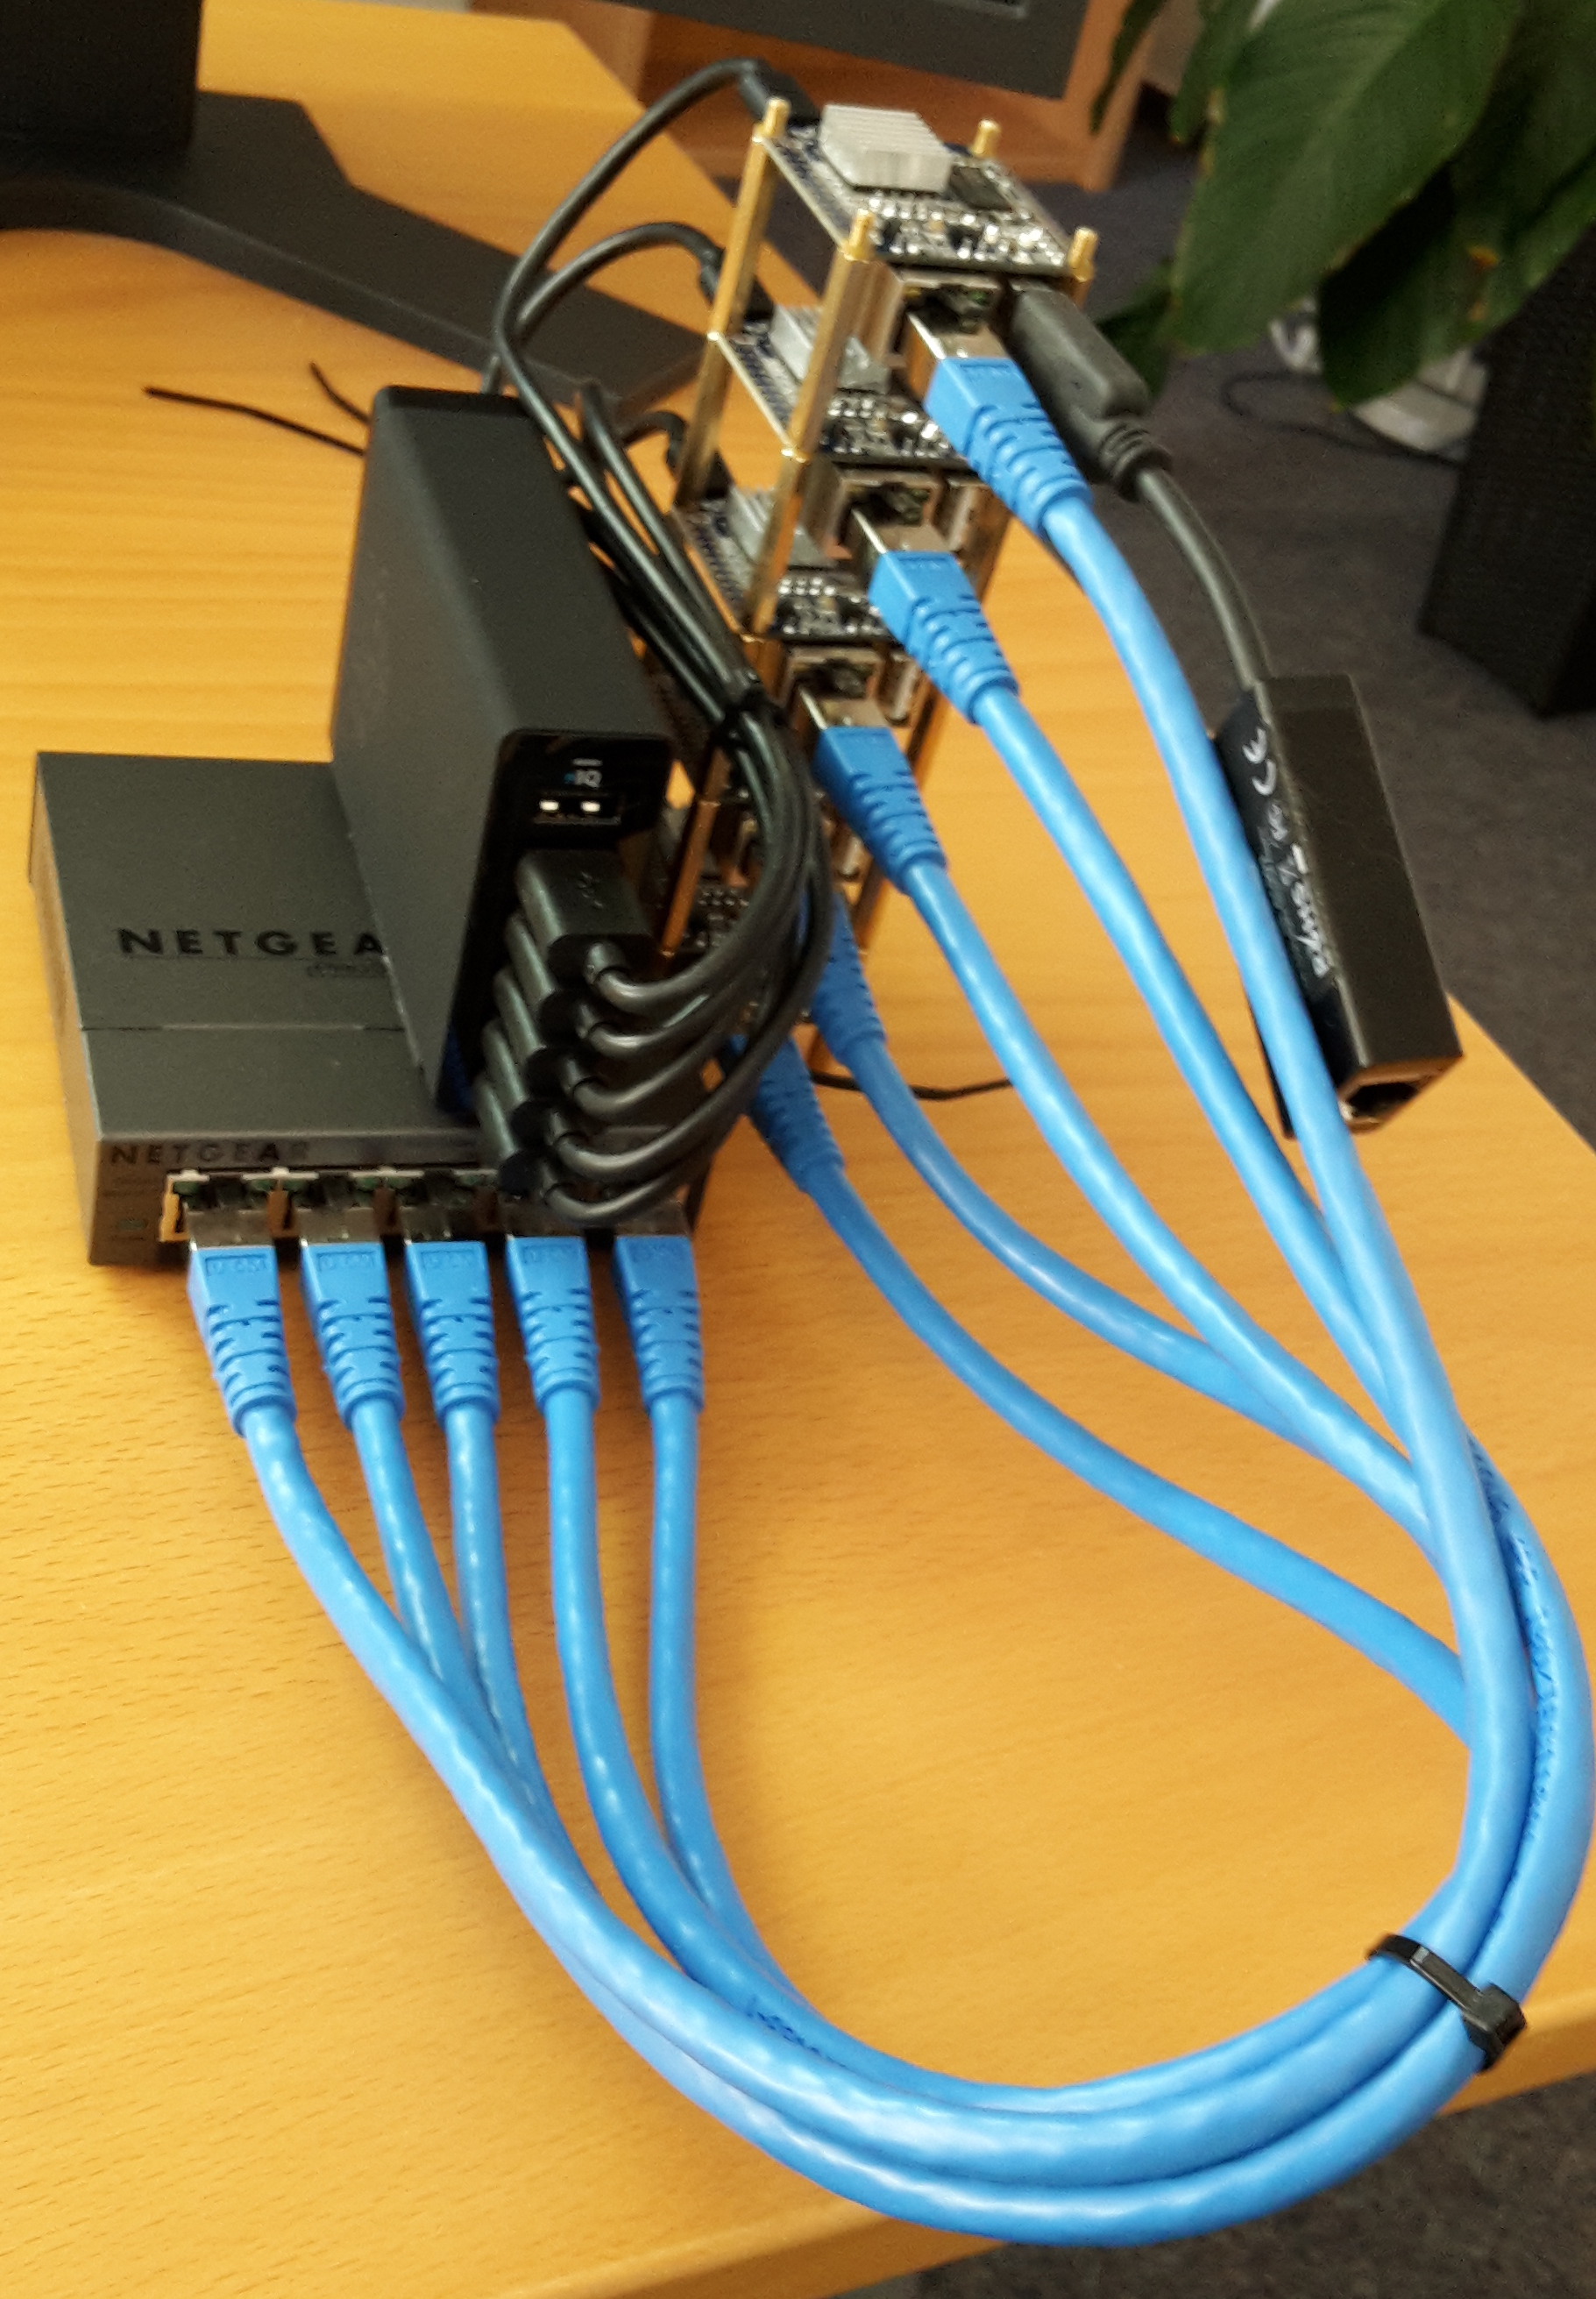 The NanoPi NEO Cluster
In the next part I write about the system setup process and how to install docker.